Caution: Consider executing the steps below only if you are sufficiently technical. The steps may be risky and can lead to loss of your data so please don’t try them if you don’t understand them.
A WordPress blog consist of three main parts – the content, the WordPress software and the hosting provider on top of which it runs. You are responsible for the content, the server capacity is rented out by the hosting provider and you install WordPress on the rented server. Recently I switched my shared hosting provider and the last thing I wanted to do was lose all the content and the settings on my blog. Here are the 10 steps it took me to switch hosting providers with little or no downtime.
Step 1 – Understand the basics!
The first step is to understand what we are dealing with. WordPress is a Content Management System. This means the software will take your content and render it as per your liking. The content portion of your blog is stored separately in a MySQL database. The rendering portion of the software is WordPress itself but may also consist of tweaks you may have made over time to the theme and settings.
So to backup from one hosting provider and restoring on another requires you to save the WordPress installation and also the underlying MySQL database.
Step 2 – Backup Your Site
You should always switch to a new hosting provider while access to the existing one is still valid.
Backup your site in as many ways as possible. This creates redundant backups which are great to have if things go wrong. The first manual step is use a good graphical FTP program, SFTP to your site and download everything you can. I mean everything in your home directory even if it sounds like a bad idea.
Now look for backup solutions your hosting provider may have. A common one is creating backups using cpanel. This lets you download a compressed backup file of your entire home directory. Some hosting providers may remove this option or ask a separate fee for it so get in touch with your hosting provider but don’t tell them yet that you plan to move away.
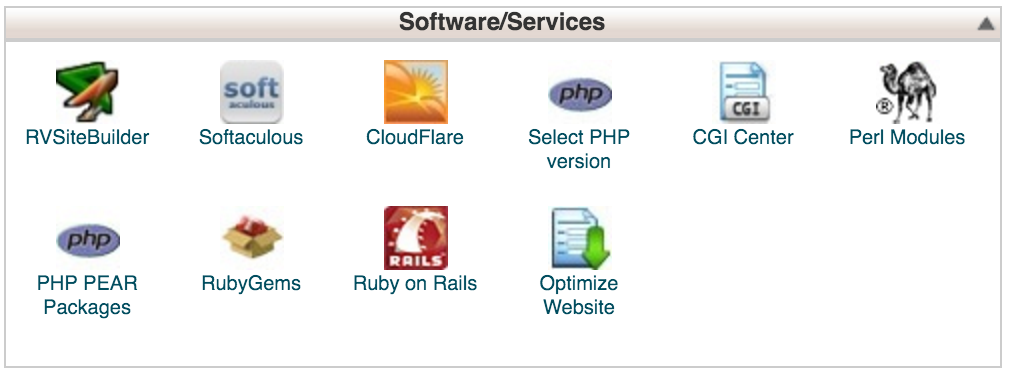
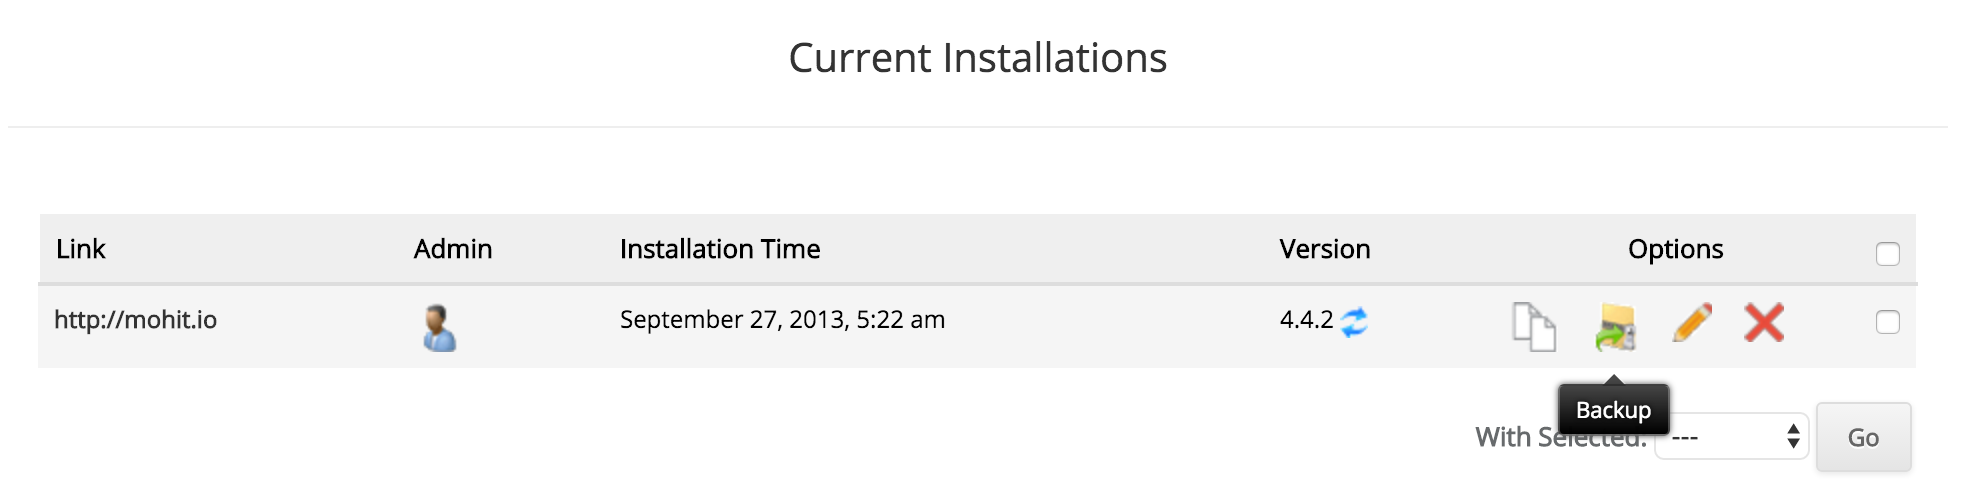
Another option is to use installation software such as Softaculous to create backups of your WordPress installation. Steps are outlined here. Make sure you backup both your installation and your database.
The idea is to get as many copies of your data as possible.
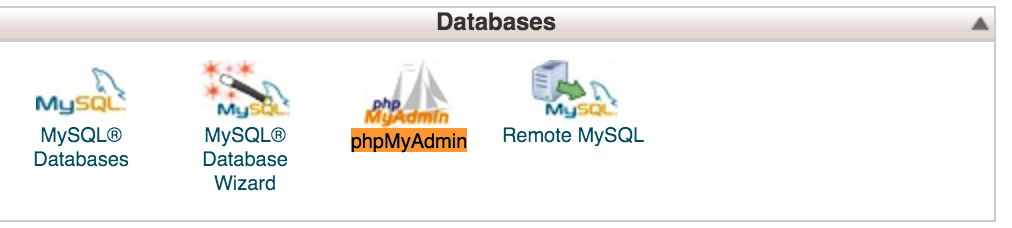
Step 3 – Create a phpMyAdmin backup
The content of the blog is stored in the MySQL DB and you can use phpMyAdmin to create a backup of your database. This may sound redundant but don’t skip it as it is an important step to successfully import your data to your new hosting provider. The steps are as follows –
- Access cpanel (http://<yoursite>/cpanel) and click on phpMyAdmin.
- Goto the export tab and export your database with the default options.
- A text file will be downloaded on your machine.
- Open the backup file in a text editor and search to see if your blog content is in the backup file or not. If the backup has your content, your database was successfully exported.
- Exit the editor and then create multiple copies of this file to create redundant backups.

Step 4 – Install WordPress on new hosting provider
Goto cpanel or whatever your hosting provider uses to install a fresh copy of WordPress. We will be overwriting this copy with our backups later.
Note all the credentials you created during this step and store them in a secure location.
Step 5 – Restore the look and feel of WordPress.
- Goto your backups and locate your wp-contents folder.
- Connect to your hosting provider using SFTP and look for the wp-contents folder on the new hosting provider.
- Overwrite the wp-contents folder with the backup. I prefer to rename the wp-contents folder to wp_contents.old and then upload from the backup.
- You may also have to edit the wp-content.php file. This file sits alongside the wp-contents folder and should only be hand edited and not overwritten from the backup. I had to port the changes from my backup to the file on the hosting provider as I had changed the table_prefix in my previous installation. To make the same MYSQL database work, the new installation also needed the same tweak.
- If you had a favicon.ico file (the small icon that browsers show in the tab for your site) you should upload that too.
Step 6 – Restore the MySQL database using phpMyAdmin
- Login to phpMyAdmin on your new hosting provider. I use cpanel to launch phpMyAdmin and was aware of the user credentials required for the login. This may require some help from the support chat of your hosting provider in case you run into login issues.
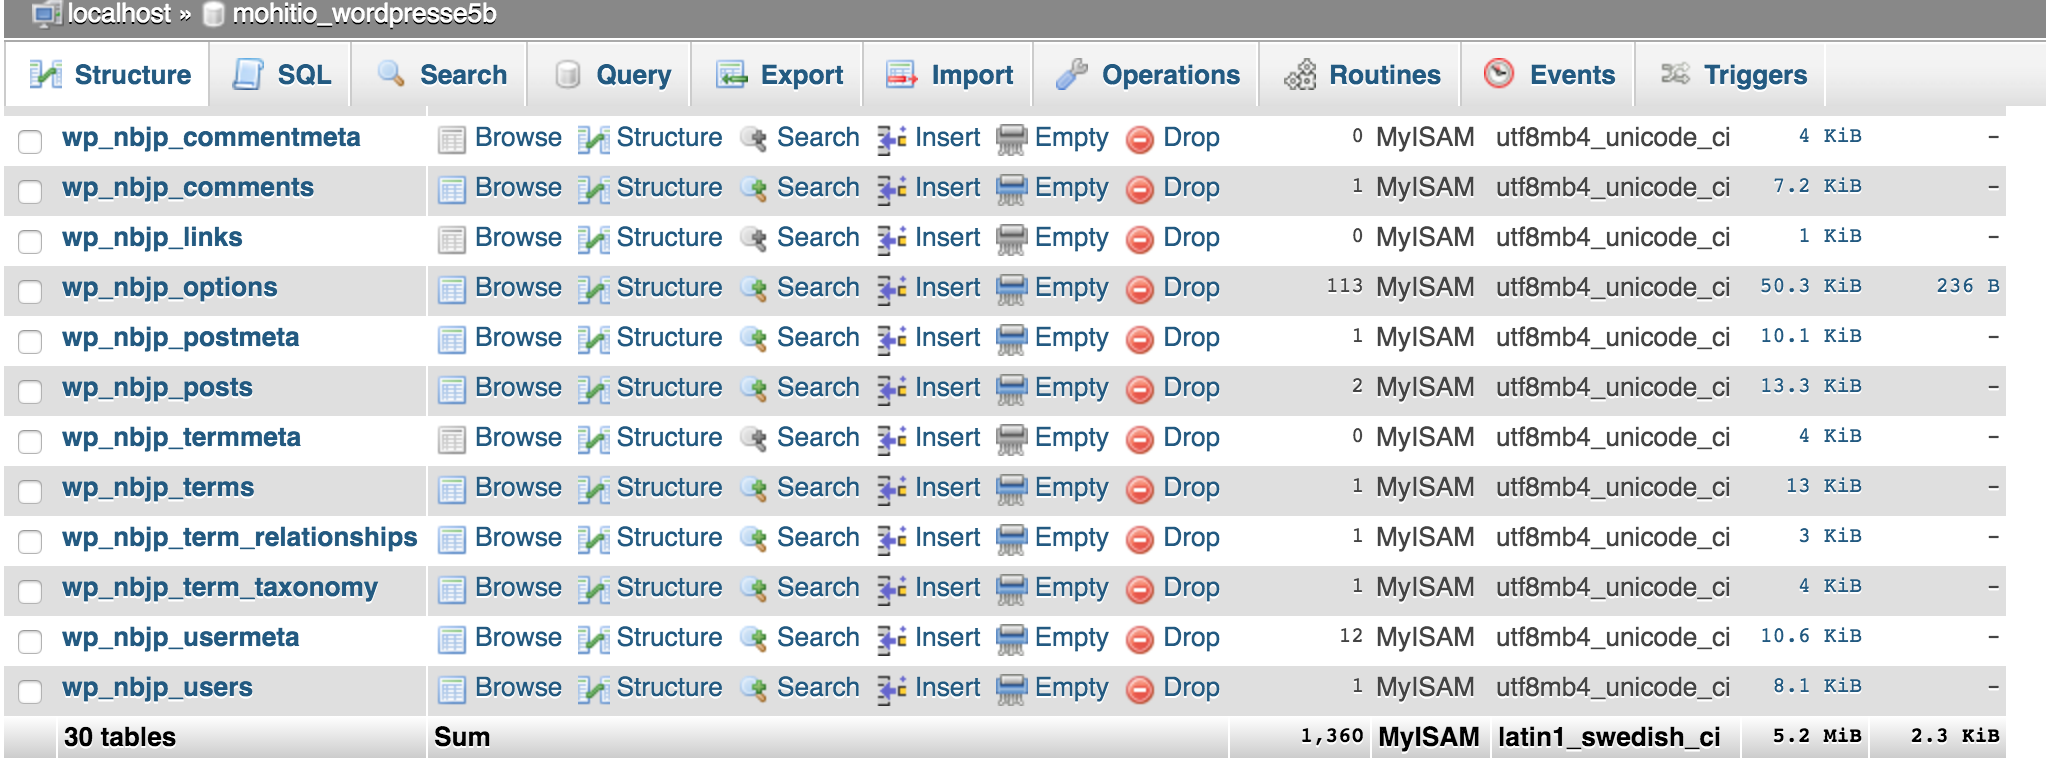
- In the databases tab, click on the WordPress database. If you haven’t used your new hosting provider much, there should only be one database to choose from.
- The above link will open up the structure of the MySQL database you created when you installed WordPress.
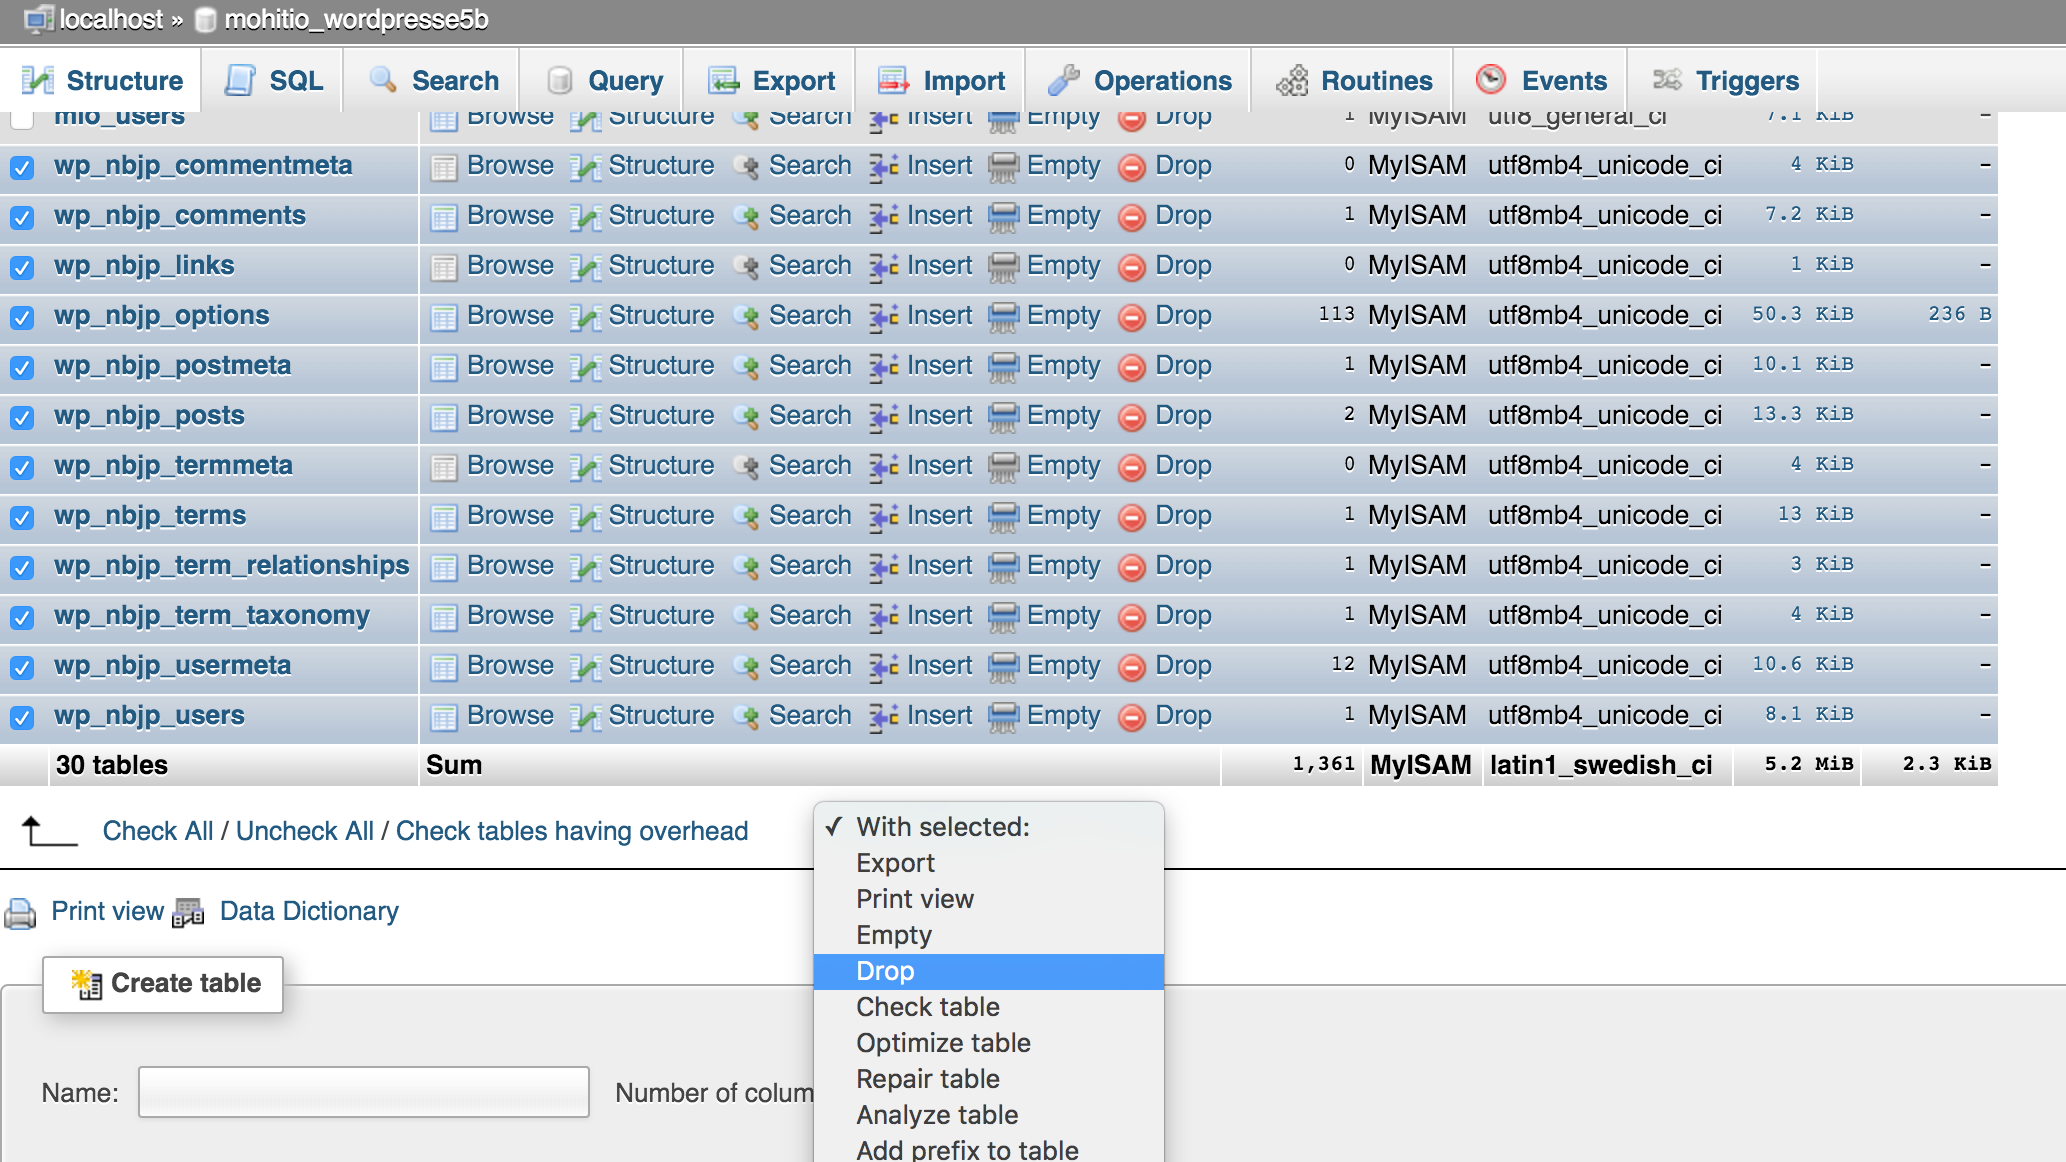
- This database has no data yet and we will drop all tables from it. Select all rows and select Drop. This will delete all tables from your database.
- Now go to the Import tab and import the backup file on your local computer that you downloaded using phpMyAdmin earlier.

If everything goes well, you are almost done.
Step 7 – Update name servers
Name servers resolve your domain names to the IP address of the server provided by your hosting provider. Your domain name settings should now be changed to point to the name servers of the new hosting provider. This setting can be done through the interface you use for managing your domain name.
It make take a few hours for this to propagate.
Step 8 – Test your website
- Using the whois command make sure your domain now points to the new hosting provider.
- Goto <your_site>/cpanel and the cpanel of your new hosting provider should open up. This means your domain is pointing to the new servers assuming your hosting provider does have cpanel support.
- Your site should work as earlier. If you see a blank page you will need to find out what is going wrong.
- Right click in browser and view source. If the source is blank, something may be wrong with your theme setup.
- Goto your_blog/wp-admin. Sometimes the themes have errors in them but the admin page may work fine.
- Access logs on your remote server and try to make sense of what went wrong.
- Now check links in your blog to see nothing is broken.
- Tweak your blog settings till you fix the problems you encounter.
- Update any plugins or themes through your administrative interface.
- Activate plug-ins you need in your new installation. Don’t enable all plugins but only the ones you need. It helps the responsiveness of your site and reduces security risk of your application in case a plugin becomes vulnerable in future.
This is the step where your hard work either pays off or you need to start again and give it a few more tries. As each installation is a unique snowflake, it is difficult to list out detailed steps on what could have gone wrong.
Step 9 – Secure Your Site.
When you move WordPress, you may have forgotten the tweaks you did earlier to secure your site. For example, in my new installation, I forgot to disable directory listings and later had to add the following line in my ~/public_html/.htaccess file to fix this.
Options -Indexes
It is important to validate security of your WordPress site. I use WPScan to test my installation and even though I thought I had installed everything correctly, WPScan identified a couple of misconfigurations I had missed.


After fixing your issues, make sure your blog links continue to work.
Step 10 – Submit a cancellation request with your old hosting provider
After making sure everything works and data has been successfully migrated, submit a cancellation request with your old hosting provider. Or else the hosting provider may auto-renew your membership and charge your credit card.
Conclusion
The above 10 steps worked for me to move to my new hosting provider after having been with the earlier one for 5 years. I only need to track my cancellation request with the old hosting provider.
Keep backups, reserve sufficient time to switch between hosting providers and understand every step you take if you want to be successful with moving your blog. As blog migration takes time and has some risks, first think through the reasons why you want to move your blog to a new hosting provider before undertaking the project.